In order to run through this page you need Syntasso Kratix Enterprise license token. Don't have one? Request your free trial token here
Quick Start (Enterprise Edition)
This guide gives you a hands-on introduction to Syntasso Kratix Enterprise (SKE). In less than 30 minutes and with minimal dependencies, you will see how Kratix Promises deliver self-service to enable quick time to value while also enabling fleet management to maintain that speed and efficiency.
Platforms need to provide a wide range of services to their users. Some examples include databases (i.e. individual infrastructure), developer environments (i.e. paved roads), CI/CD pipelines (i.e. any internal capability-as-a-Service).
In this quick start you will learn about a Kratix Promise which provides the structure between platform producers and consumers. Platform producers are often operators or other subject matter experts who need to contribute and manage their services while consumers are often application developers, data scientists, managers and others who need to depend on and use the provided services. You will also see how SKE reduces the time to integrate with portals like Backstage so that consumers can request services without needing to write YAML or understand the underlying Kubernetes resources. And once integrated, SKE keeps platform engineer costs low through a managed integration as both SKE and the portals release updates.
Prerequisites
To follow along, you'll need access to a Kubernetes cluster.
We recommend using a clean, disposable cluster for this quick start and you can use any Kubernetes distribution including:
- Managed services like GKE, EKS, or AKS
- On-premises clusters like OpenShift, Rancher, or vanilla Kubernetes
- Local environments like KinD or Minikube
If you're working in a shared or production-like environment, see the full installation guide to avoid configuration conflicts. The quick start deploys a local, insecure MinIO instance—intended only for local development.
Installation
SKE extends the Kubernetes API by introducing custom resources and controllers.
While SKE runs on Kubernetes, it orchestrates resources both in and outside of Kubernetes.
There are examples of SKE orchestrating SaaS products, edge compute, IoT, and even
mainframes.
SKE comes with easy integration to existing portal solutions such as Port and Backstage. To highlight this, a pre-configured Backstage instance is included in the quick start.
Before installing, create the namespace and secret so your cluster can access the private container registry:
kubectl create namespace kratix-platform-system

kubectl create secret docker-registry syntasso-registry \
  --namespace=kratix-platform-system \
  --docker-server=registry.syntasso.io \
  --docker-username=syntasso-pkg \
  --docker-password=<YOUR TOKEN>
Then apply the SKE installer manifest:
kubectl apply -f http://s3.eu-west-2.amazonaws.com/syntasso-enterprise-releases/ske/v0.31.0/dev-only/ske-quick-start-installer.yaml
This will deploy a job that installs SKE and its dependencies. To follow along with the installation process, you can watch the logs of the installer job:
kubectl logs -f job/ske-quick-start-installer -n kratix-platform-system
In less than 5 minutes all dependencies will be installed and the platform controller
should be running:
kubectl get pods -n kratix-platform-system
And the output will be similar to:
NAME                                                       READY   STATUS      RESTARTS   AGE
backstage-84c6c6bc97-x9vp4                                 1/1     Running     0          48s
backstage-controller-controller-manager-59f5dc86fd-dd8d7   1/1     Running     0          88s
kratix-platform-controller-manager-57865f86c5-lp8bm        1/1     Running     0          88s
minio-6c6bdc6456-hkw86                                     1/1     Running     0          88s
ske-quick-start-installer-fmfbq                            0/1     Completed   0          113s
Having issues? Here's how to debug the installer Job
If the Kratix quick-start Job fails, here are some steps to help troubleshoot the issue:
📋 1. Check the Job status
kubectl get jobs -n kratix-platform-system
kubectl describe job ske-quick-start-installer -n kratix-platform-system
🔍 2. View logs from the installer pod
kubectl logs -f job/ske-quick-start-installer -n kratix-platform-system
This will show exactly which step failed (e.g. cert-manager install, Kratix controller readiness, config sync, Backstage).
🧪 3. Check pod readiness in system namespaces
kubectl get pods -n cert-manager
kubectl get pods -n kratix-platform-system
kubectl get pods -n flux-system
📦 4. Common causes
- Slow image pulls or cluster resource limits
- Webhook service not ready before config is applied
- Missing cluster DNS or RBAC issues in custom environments
🧰 5. Retry the job manually (if needed)
kubectl delete job ske-quick-start-installer -n kratix-platform-system
kubectl apply -f ske-quick-start-installer.yaml
Publish a Promise
Now that SKE is installed, the platform is empty. To offer services, you publish Promises.
This is traditionally done by platform operators or contributors.
While Promises can be custom written, there is also a community marketplace to get
started. Start by publishing a simple marketplace PostgreSQL Promise to your platform:
kubectl apply -f https://raw.githubusercontent.com/syntasso/promise-postgresql/refs/heads/main/promise.yaml
Once published, a new custom resource type becomes available in your cluster:
kubectl get crds -l kratix.io/promise-name
This shows that the new API is available which can be used via all the kubectl commands
such as get, create, or delete. This means consumers can now self-serve PostgreSQL
instances providing only the values your API requires.
And SKE also takes care of publishing all the required information into Backstage for you, meaning you don't need to manually configure the Backstage catalog. Let's take a look at the Promise we just published:
In a separate terminal, open a port-forward so you can access the Backstage UI:
kubectl port-forward svc/backstage 7007:7007 -n kratix-platform-system
Then navigate to http://localhost:7007 in your browser. After a few moments you should see the Backstage UI with the Postgres Promise Component listed in the catalog (you may need to refresh the page):
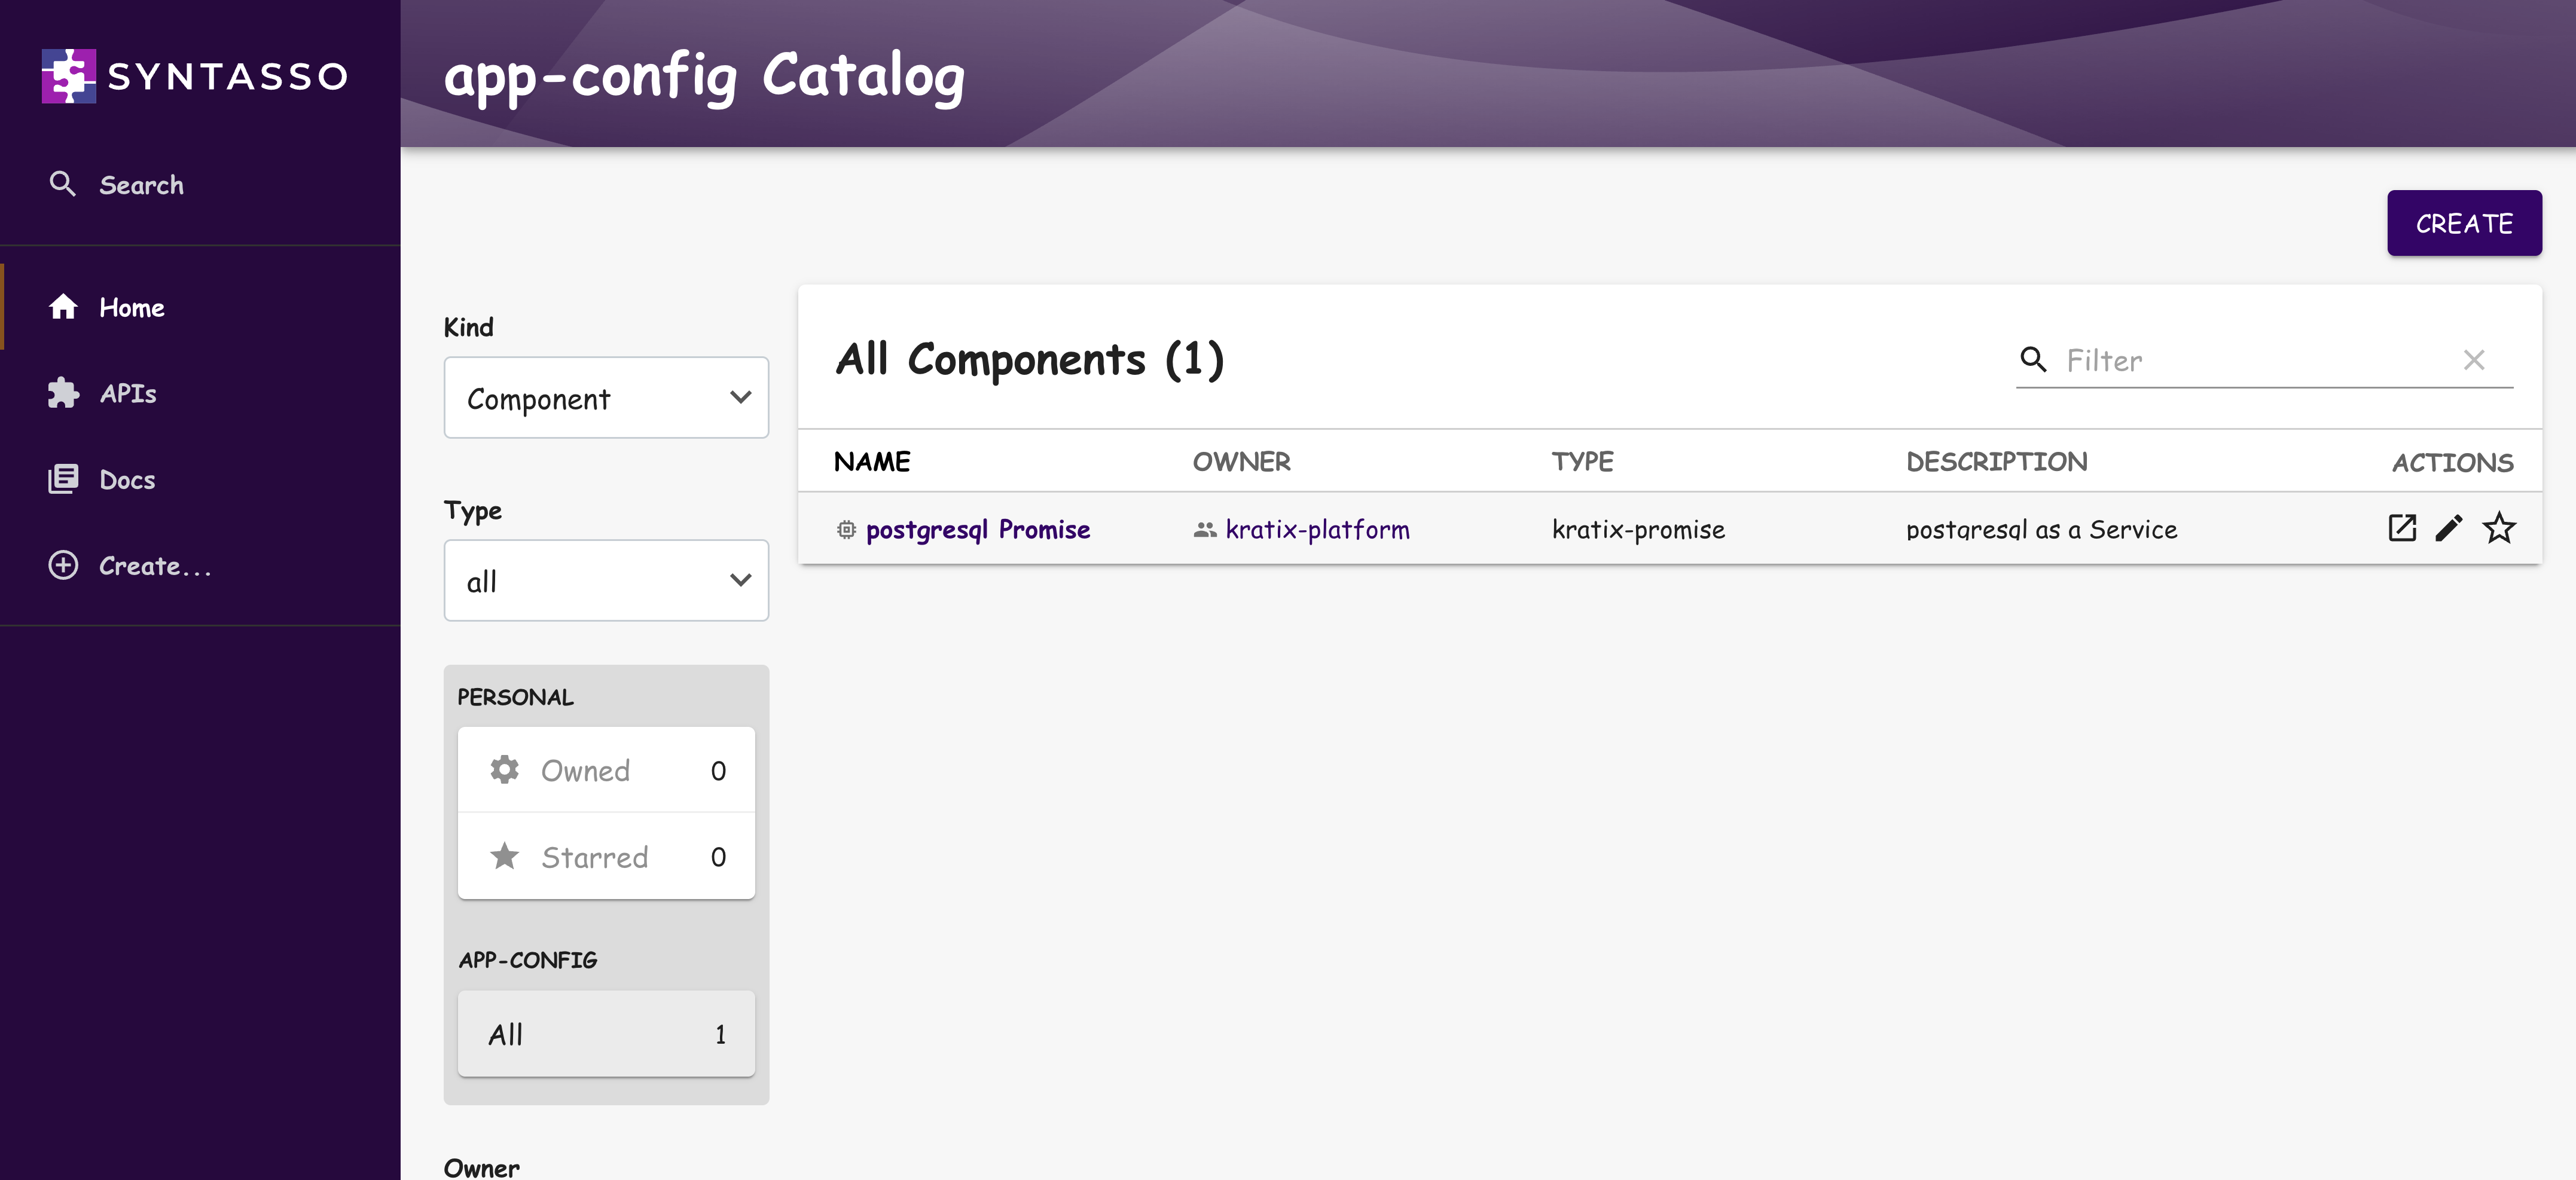
If you select Create in the top right, you will then be able to see that
the PostgreSQL template is available to be chosen.
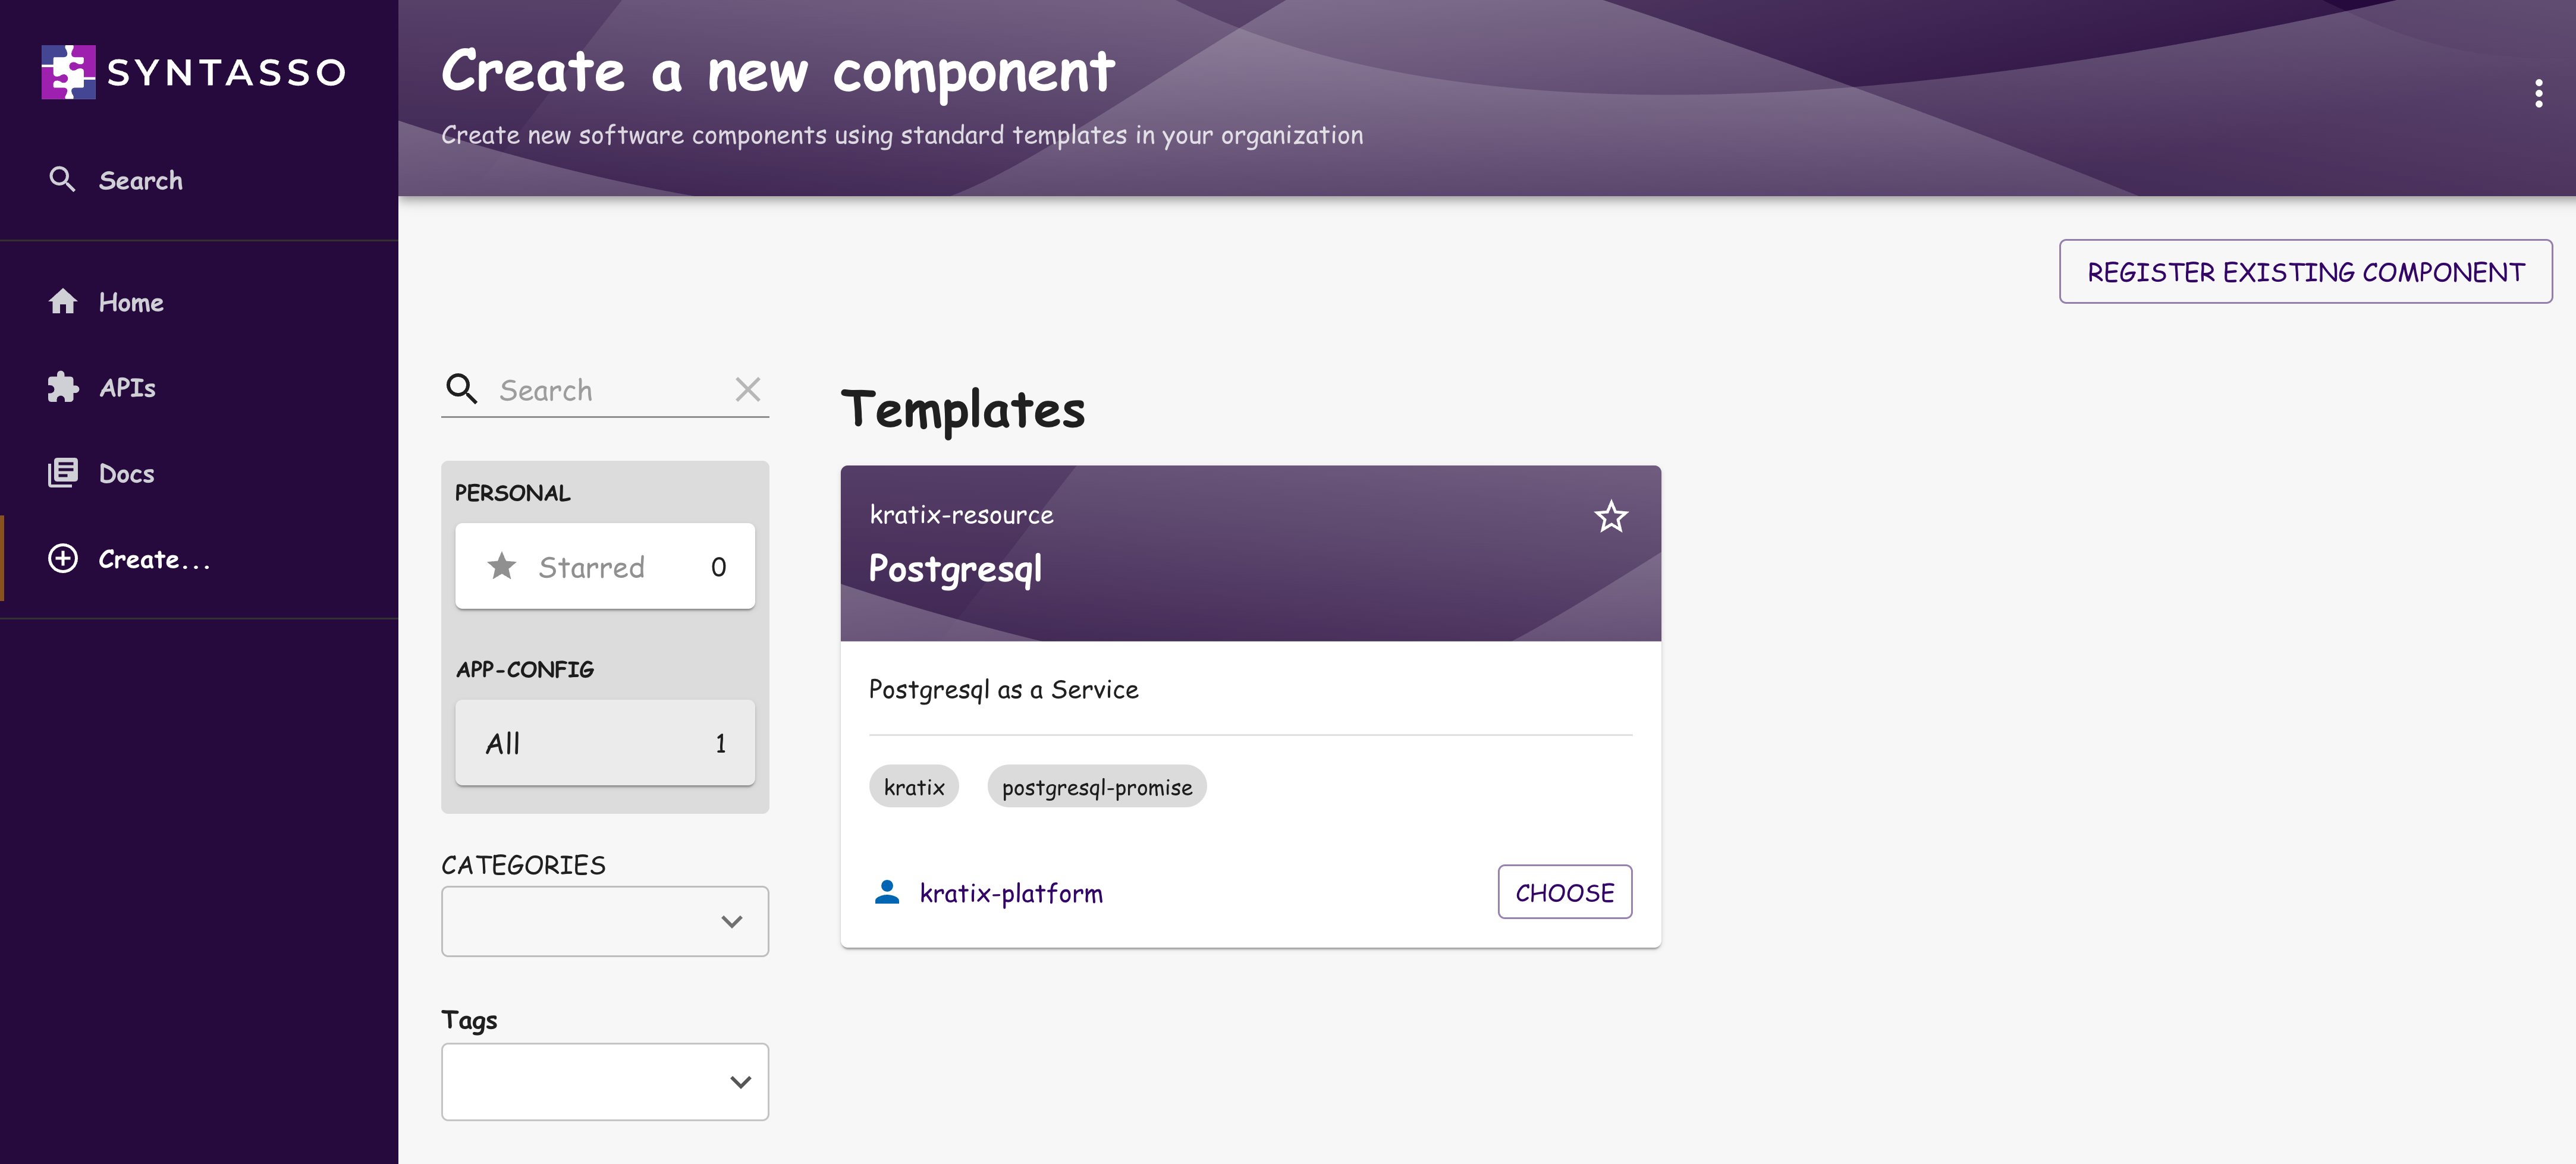
Request an Instance (via Backstage)
With the Promise published, consumers can use Backstage portal to request
services. Fill in a request for a PostgreSQL instance using the PostgreSQL
Promise template. For simplicity let's use the default namespace and leave all
the fields set to their default values. Once the request is submitted, SKE will
reconcile the request and create the instance in the cluster.
SKE supports multiple ways to interact with the Platform. Whether you prefer using kubectl, one or more Backstage instances, or a custom UI, SKE allows all of them to work seamlessly and even in parallel so you and your users can choose the right tool for the job.
Once the instance is created, you can see the new resource in Backstage by navigating back to the homepage:
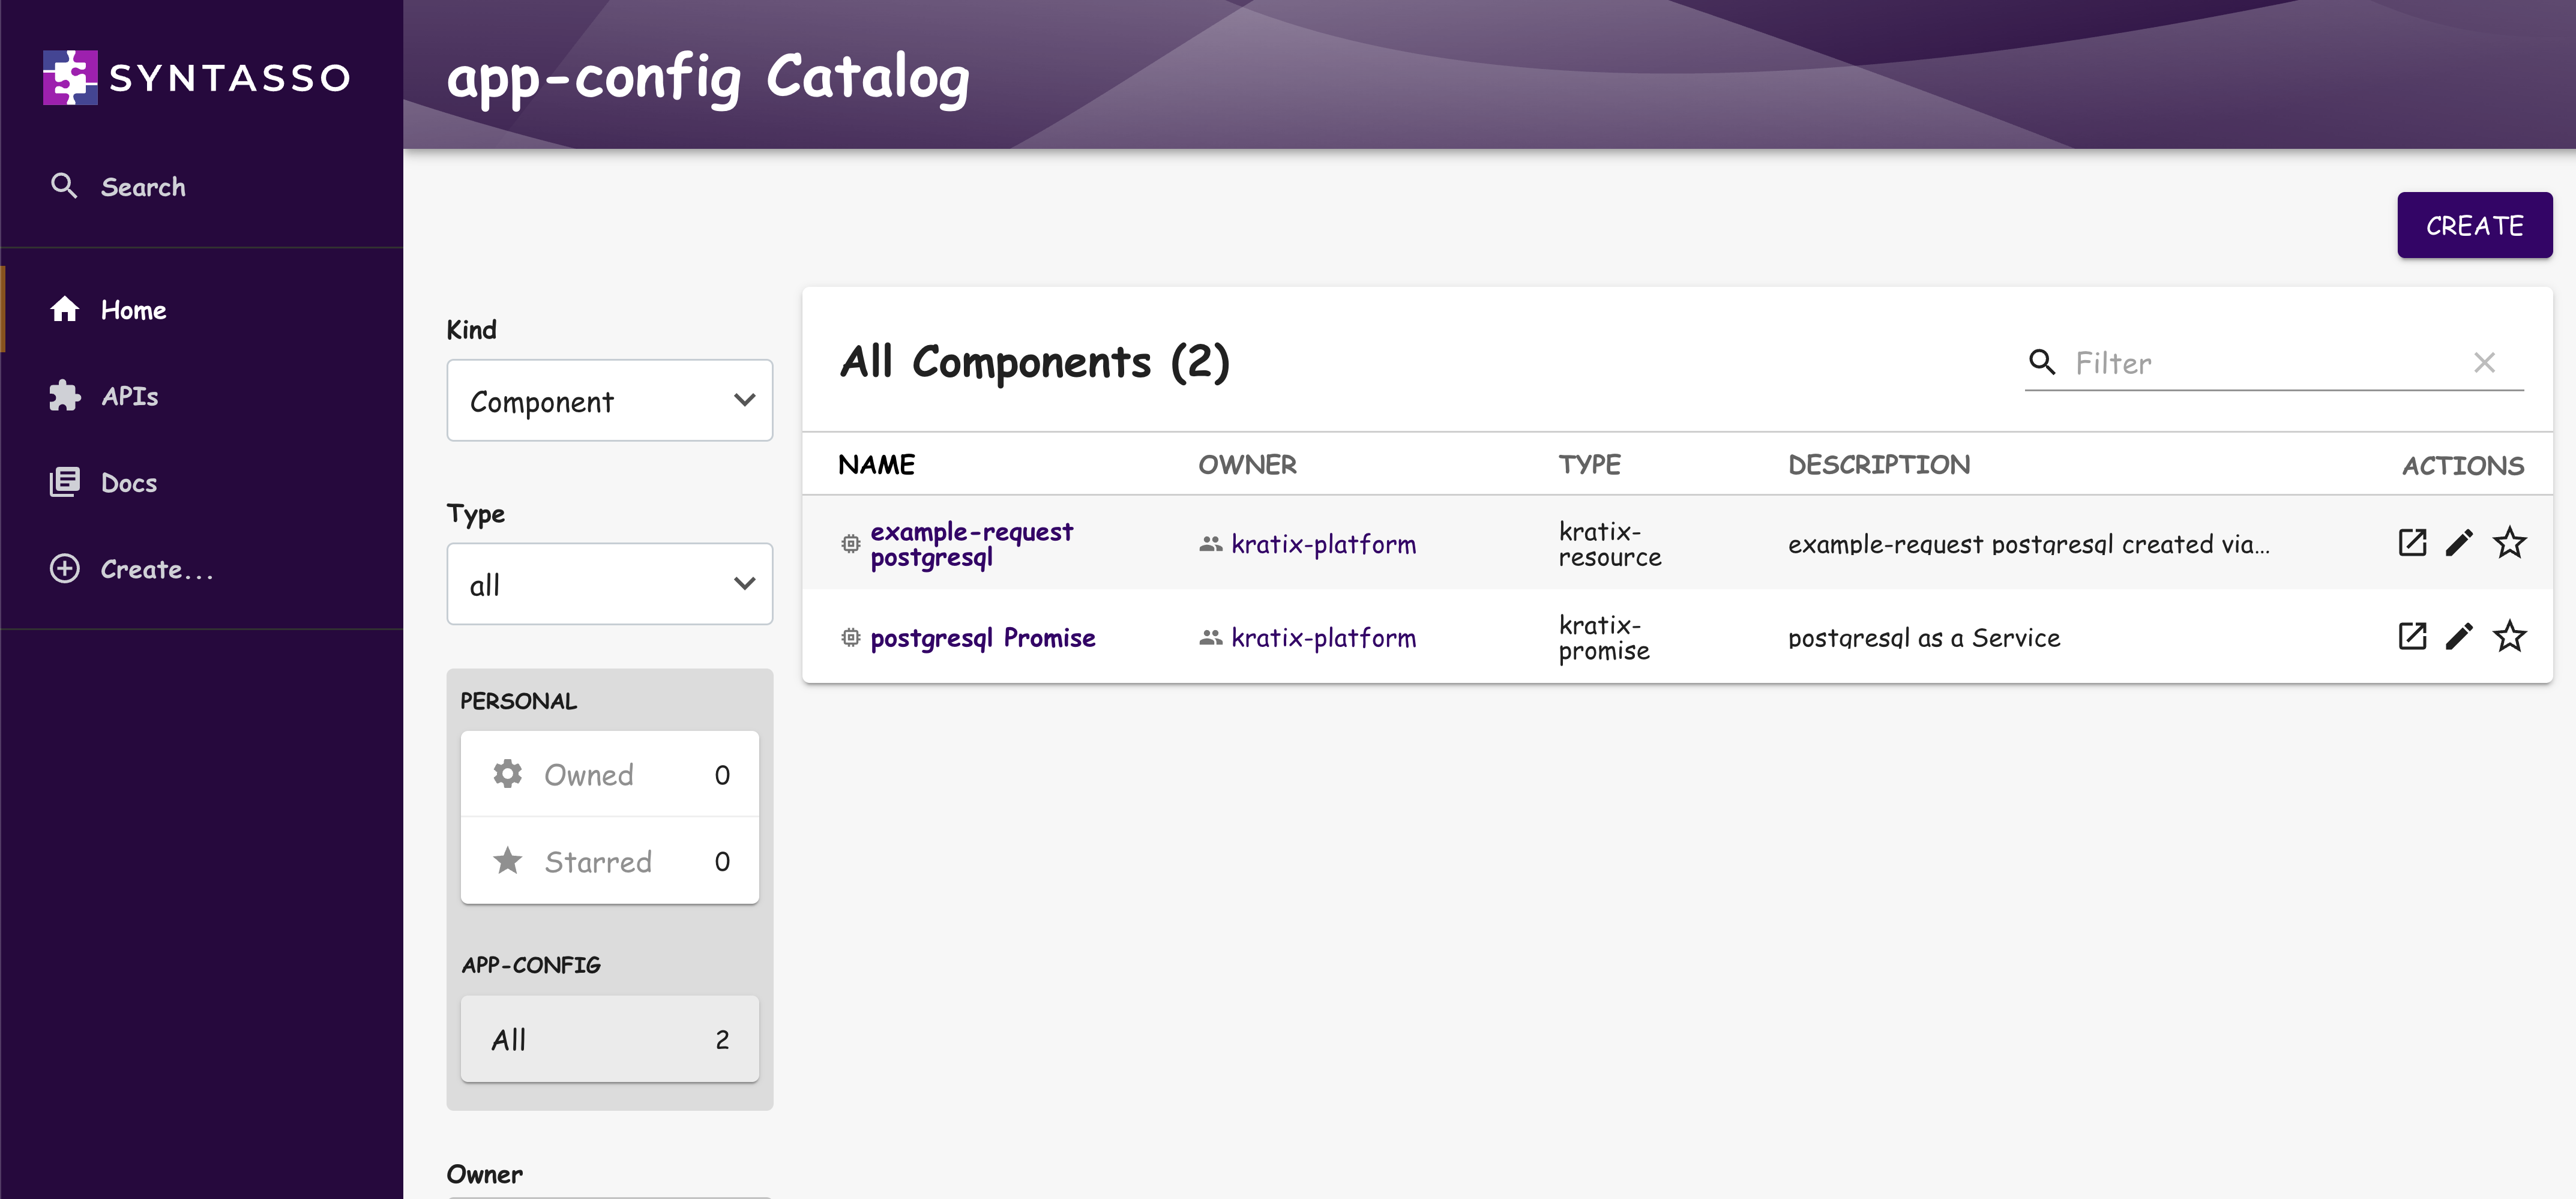
Furthermore, when you click through to your requests there are all relevant details for users:
Whats happening in the backend?
When a Promise is published, it exposes a new custom resource type in the
Kubernetes API. This resource type is used to request instances of the
service. When a template is filled out and submitted, it creates a new
resource of that type. In this case, the resource is a postgresql resource
type.
Let’s inspect this new API:
kubectl explain postgresqls.marketplace.kratix.io.spec
This command provides a detailed description of the postgresql resource
type and what fields are available in the spec section. In this example,
all of the fields are optional since the platform can provide sensible
defaults. Reducing required fields allows consumers to focus on what matters
most to them and grow into more specific configuration as and when they need
it. You can see all these fields are mirrored in the Backstage template.
Once a request is submitted, either via Backstage or kubectl, it will exist
in the cluster as a postgresql.marketplace.kratix.io resource. You can
view the request by running:
kubectl get postgresql.marketplace.kratix.io <name> --watch
You should see the following output:
NAME      STATUS
<name>    1Gi instance v16 deployed successfully without backups
For further inspection of all the fields, you can run:
kubectl get postgresqls.marketplace.kratix.io <name> -o yaml
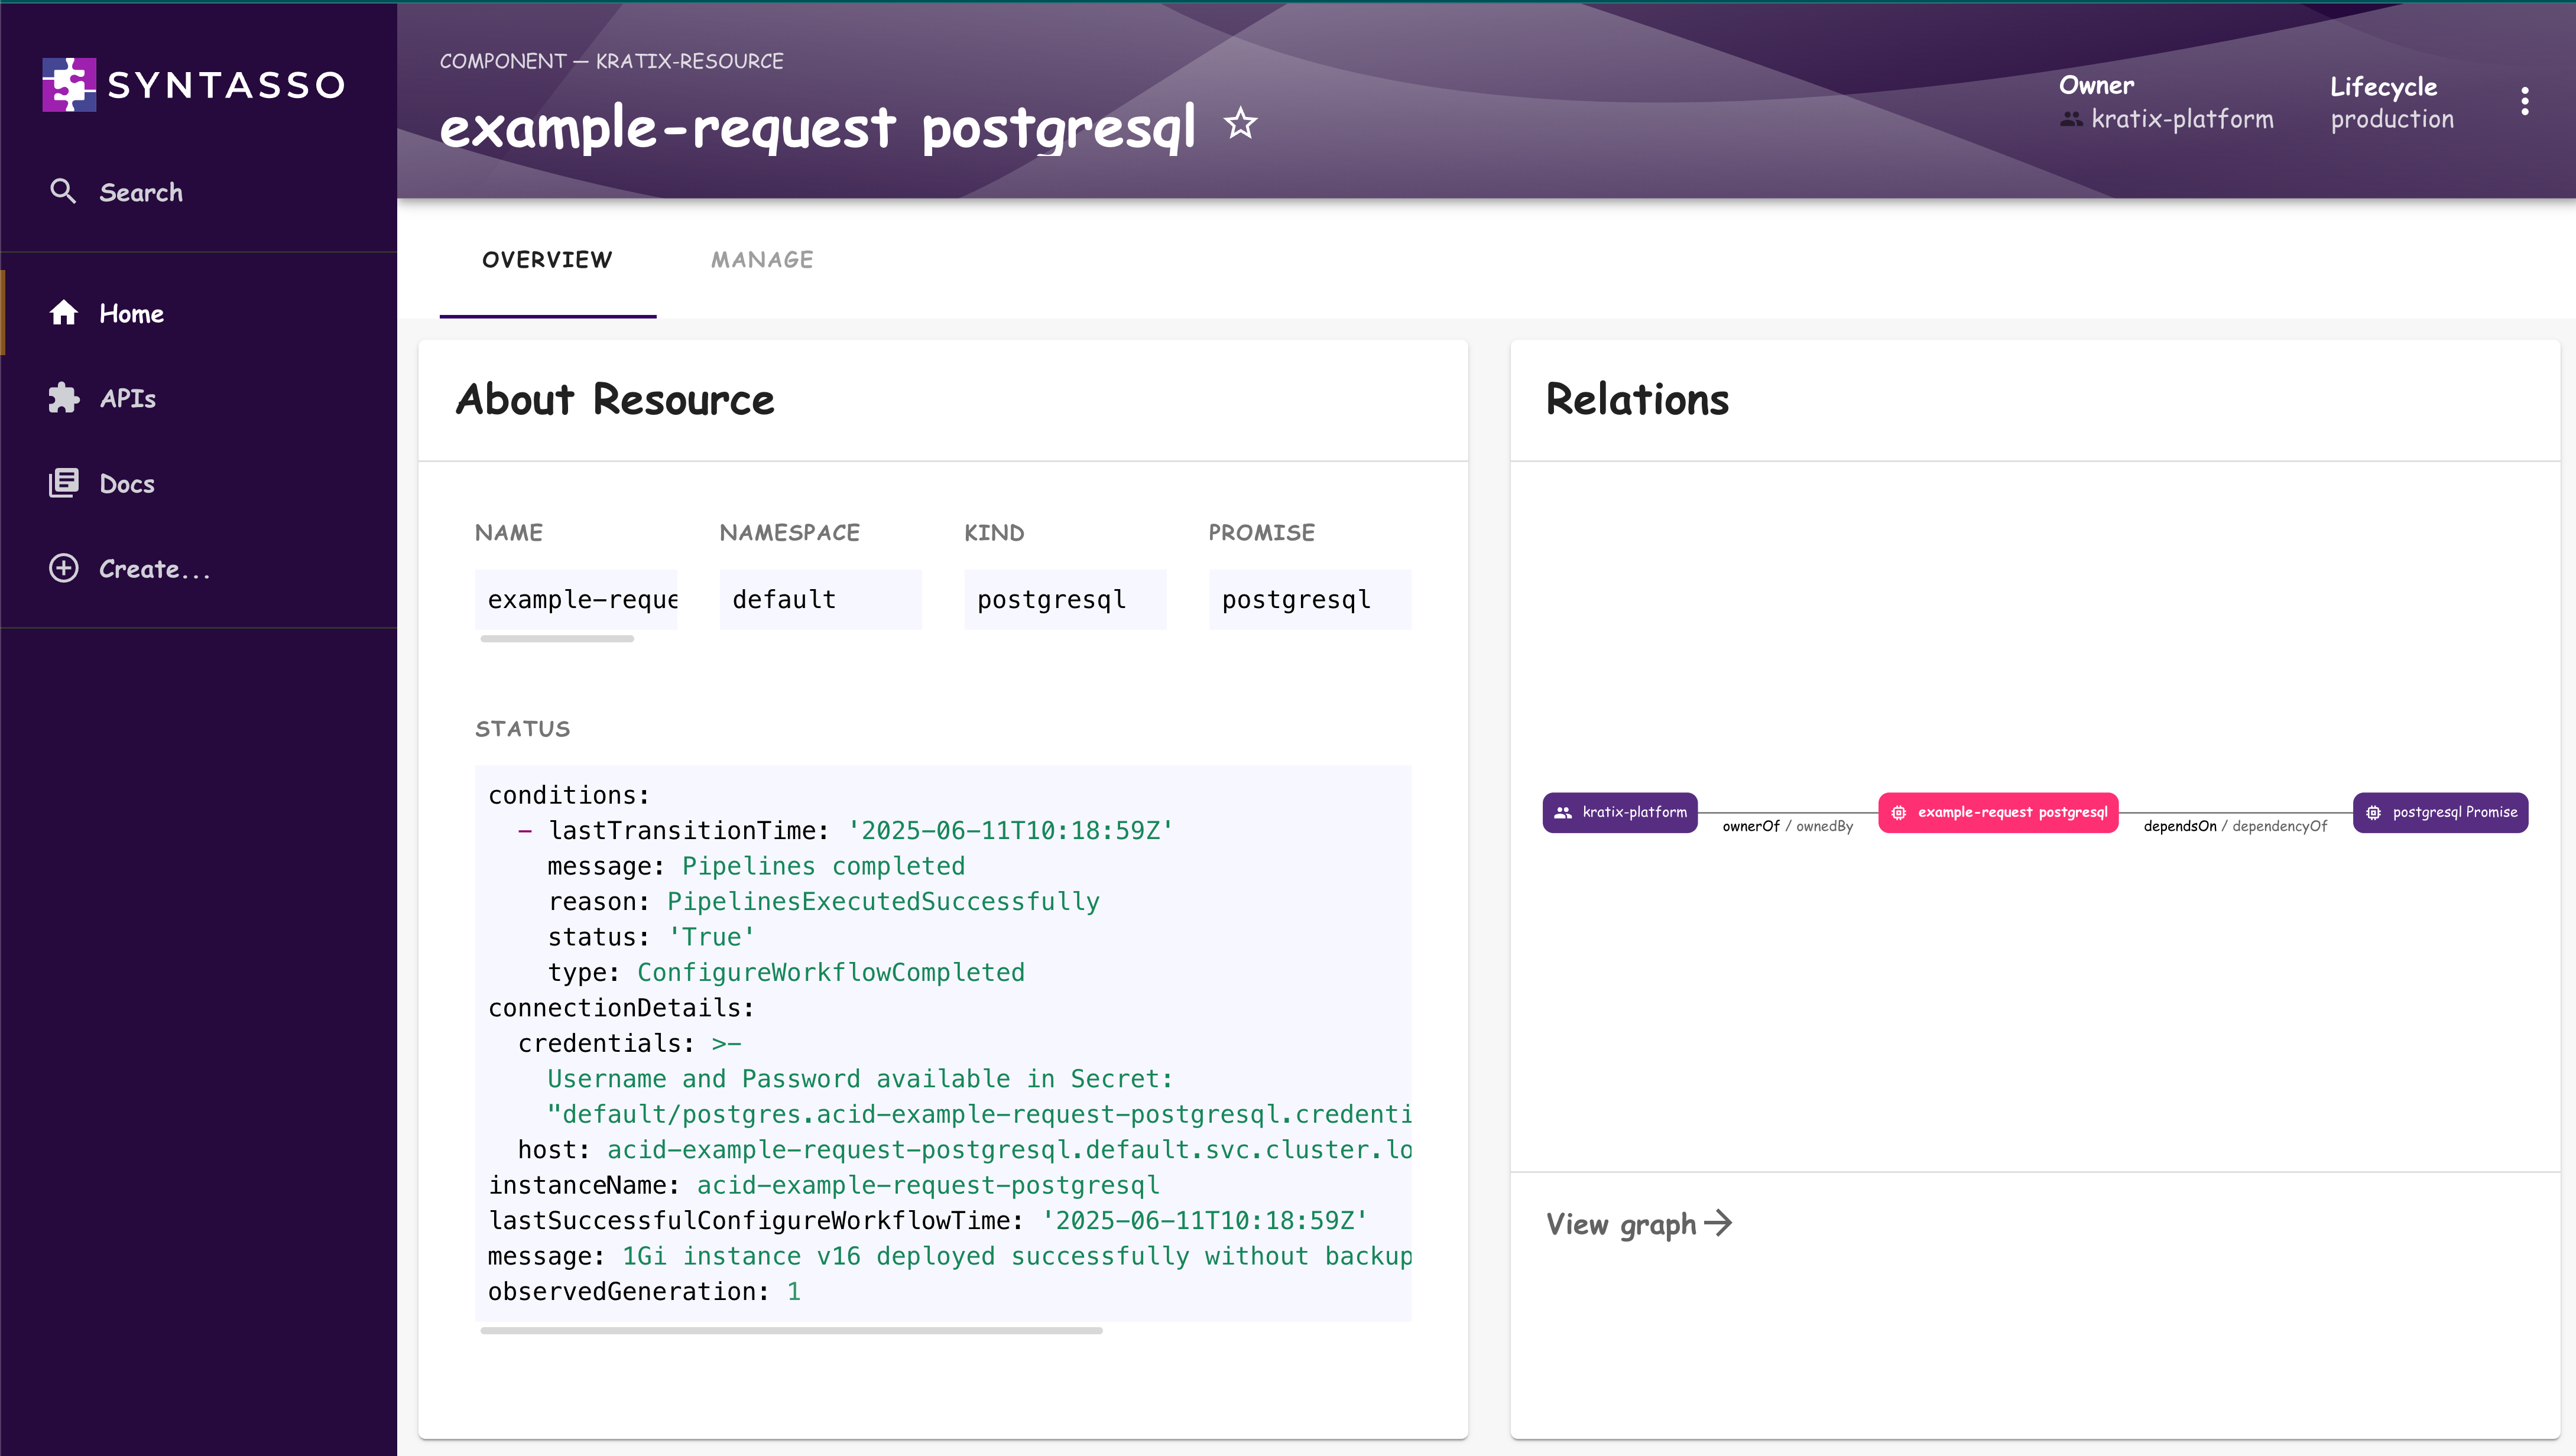
You can see in the status section in the Overview tab that the request is
ready and information on how to access the PostgreSQL instance is provided.
The reason SKE works across any number of interfaces is because it is a platform backend
that stores state in Kubernetes. This keeps Backstage and any other graphical interface
focused on the display and allows the business logic to be centralised in the platform.
To see this in action, use the following command to view the same status information via
the kubectl command line:
kubectl get postgresqls.marketplace.kratix.io <name> -o yaml
While Kratix is itself a backend, SKE brings in the automatic mirroring of platform state to portals such as Backstage and manages the headache of regular updates to how your portal and SKE integrate. This enables you to keep your Portal logic minimal and focused on the user experience, while SKE handles the heavy lifting of managing the resource lifecycle.
Behind the scenes, Kratix is running a set of Workflows defined by the platform producer in the Promise. These Workflows incorporate all of the business rules and required actions before scheduling any declarative workloads to the correct GitOps repository. In this case the workflow for the PostgreSQL Promise was quite simple, it took the users input and used this to generate the required Kubernetes resources to create the PostgreSQL instance. Those resources were then scheduled to the Platform via the GitOps repo (in this simple scenario, an in-cluster s3 compatible bucket using MinIO).
You can see the workflows that were run by inspecting the Pods:
kubectl get pods -l kratix.io/promise-name=postgresql
You should see the following:
NAME                                                    READY   STATUS      RESTARTS   AGE
kratix-postgresql-example-request-backstage-gen-9eb5e-v6zlg        0/1     Completed   0          5m21s
kratix-postgresql-example-request-instance-configure-d8fcf-5kq7g   0/1     Completed   0          5m21s
The example-request-instance-configure Pod is the workflow thats specified in
the Promise and is doing all of the heavy lifting of generating the Kubernetes
resources based on the users input. The -example-request-backstage Pod is
created by SKE and is used to generate the Backstage resource that is displayed
in the Backstage UI.
Update an Instance (via Backstage)
SKE isn't a fire and forget solution; it handles the full lifecycle, including
all day 2 operations. For example, if your requirements change, it's easy to
adapt. As a consumer, you simply update the request and re-submit. Promises are
designed to safely handle updates without requiring custom scripts or manual
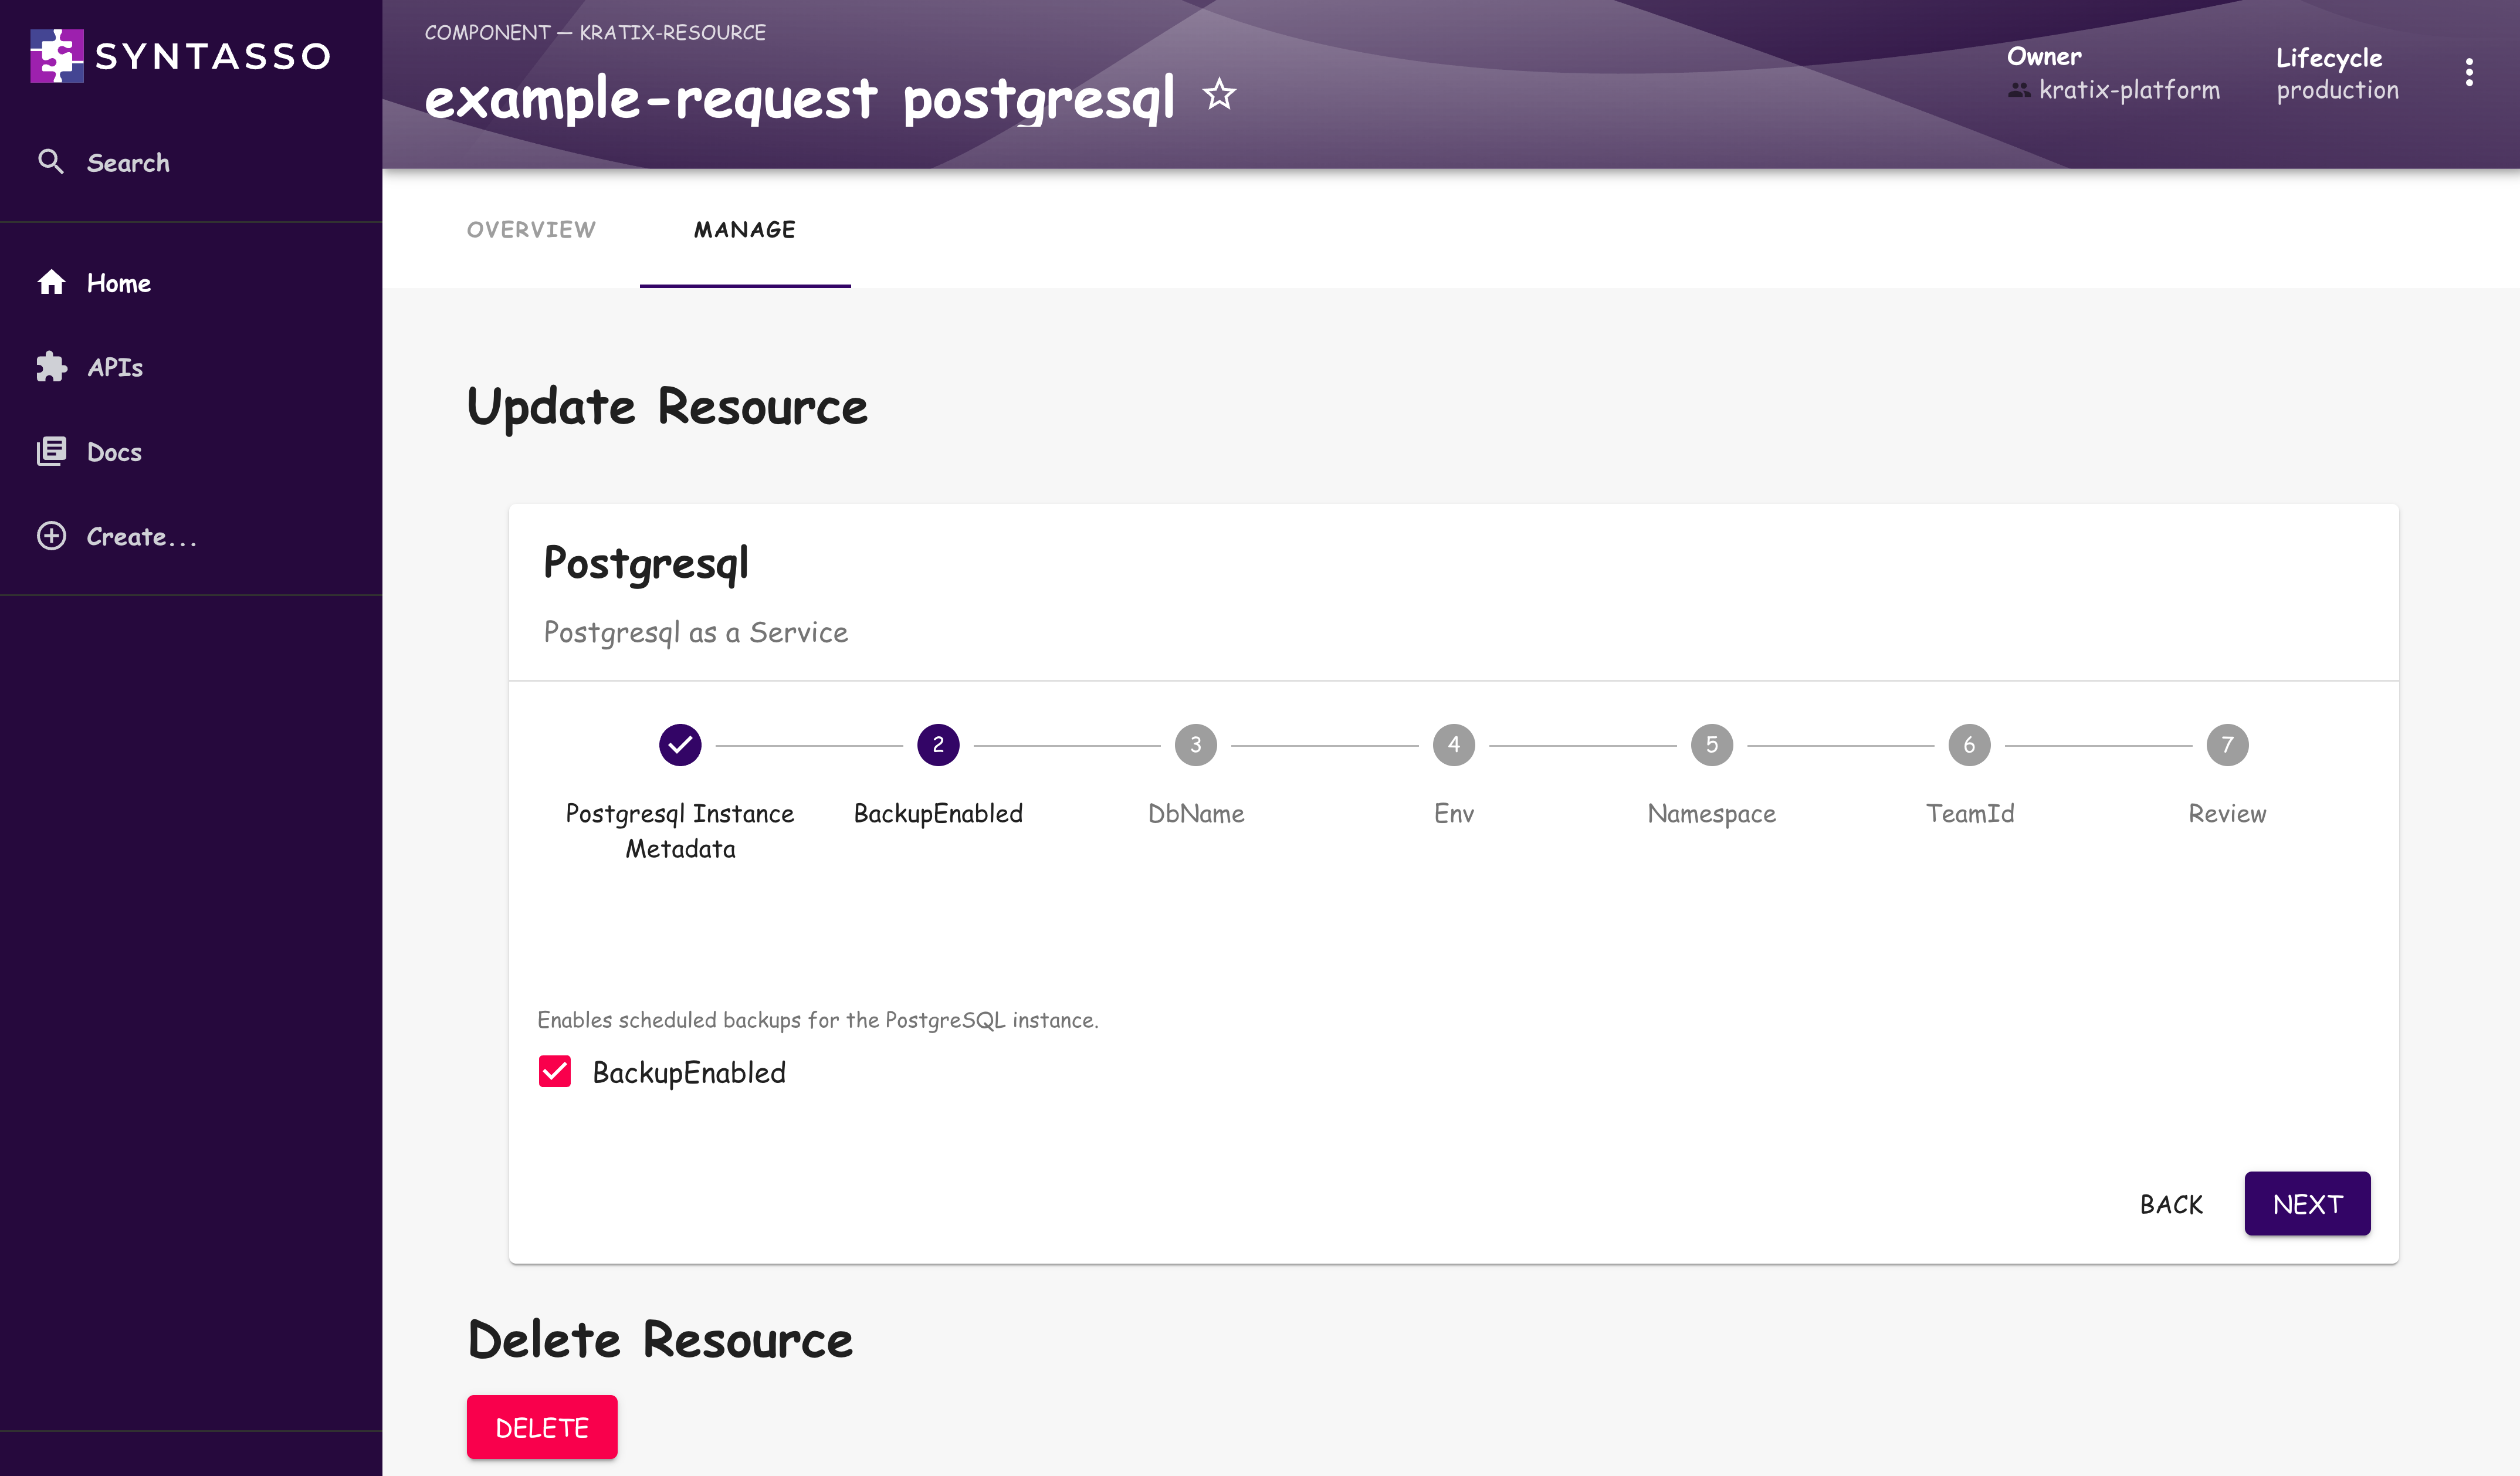
intervention. Open the resource in Backstage, navigate to the Manage tab, edit
the configuration, and submit. In this case let's enabled Backups by ticking the
BackupEnabled box. The update will be automatically applied and reconciled.
You’ll see a new CronJob show up in the cluster because the request was updated to enable backups:
kubectl get cronjob --watch
NAME                                                SCHEDULE      TIMEZONE   SUSPEND   ACTIVE   LAST SCHEDULE   AGE
logical-backup-acme-org-team-a-example-postgresql   30 00 * * *   <none>     False     0        <none>          30s
Manage a Fleet
It's not just consumers who grow and change. A platform with 10s, 100s or even 1000s of consumers needs to also manage changing requirements or even new security risks.
In order to show how SKE can manage a fleet of instances, use the command provided below to create a couple more PostgreSQL instances:
kubectl apply -f https://raw.githubusercontent.com/syntasso/promise-postgresql/refs/heads/main/multiple-resource-requests.yaml
This will create 2 more instances. You can view them in Backstage, as well as in cluster as shown below:
kubectl get pods -l application=spilo --watch
NAME                                           READY   STATUS    RESTARTS   AGE
acme-org-team-a-example-request-postgresql-0   1/1     Running   0          2m
acme-org-team-b-dev-postgresql-0               1/1     Running   0          5s
acme-org-team-c-testing-postgresql-0           1/1     Running   0          5s
Now, let's say you need to patch a CVE in the PostgreSQL images, updating the configuration, or even just expanding your offering to include that cloud instance option.
You can do this by updating the Promise itself. In this case, let's update the Promise to increase the default replica count of the PostgreSQL instances from 1 to 3. As with any service, updating this default will mean any newly created PostgreSQL instances will create 3 replicas. But since Kratix is built for fleet management, this update will also evaluate and then update all existing instances.
kubectl apply -f https://raw.githubusercontent.com/syntasso/promise-postgresql/refs/heads/main/promise-ha.yaml
You can observe the roll out in action with the following command (it may take a minute or two):
kubectl get pods -l application=spilo --watch
This will show a number of pods being created and completed:
NAME                                                       READY   STATUS      RESTARTS   AGE
acme-org-team-a-example-request-postgresql-0               1/1     Running     0          3m
acme-org-team-a-example-request-postgresql-1               1/1     Running     0          14s
acme-org-team-a-example-request-postgresql-2               1/1     Running     0          9s
acme-org-team-b-dev-postgresql-0                           1/1     Running     0          1m
acme-org-team-b-dev-postgresql-1                           1/1     Running     0          14s
acme-org-team-b-dev-postgresql-2                           1/1     Running     0          10s
acme-org-team-c-testing-postgresql-0                       1/1     Running     0          1m
acme-org-team-c-testing-postgresql-1                       1/1     Running     0          14s
acme-org-team-c-testing-postgresql-2                       1/1     Running     0          9s
SKE will roll out the update to every instance that uses the Promise continuing to follow any of the business rules defined in the Workflows without having to ask each consumer to run a CI/CD pipeline, make PRs into a number of different repositories or take any other action one-by-one.
Since Promises create and manage services in a consistent and repeatable way, platform contributors are provided full control and visibility without disrupting any consumers.
Business Processes, Built-in
While this quick-start focuses on how to use marketplace Promises, this is really only the beginning.
Promises become truly powerful once they encode your internal company standards such as compliance checks, cost controls, or governance policies inside the Workflows. Since these Workflows are reconciled on each change as well as a regular basis, each request automatically includes the rules your organisation cares about.
Self-service doesn’t mean a loss of control. With Kratix, it means speed and safety.
Summary
In this quick start, you:
- Installed Syntasso Kratix Enterprise
- Published a Marketplace Promise
- Used Backstage to create and update a PostgreSQL instance
- Updated a fleet of instances with a single Promise update
If you're ready to go deeper:
For information about our Enterprise Promise marketplace, book a call with us.
Want to see how this fits your platform strategy? Book a call with us →
